
David Nye Stock Manager Lite
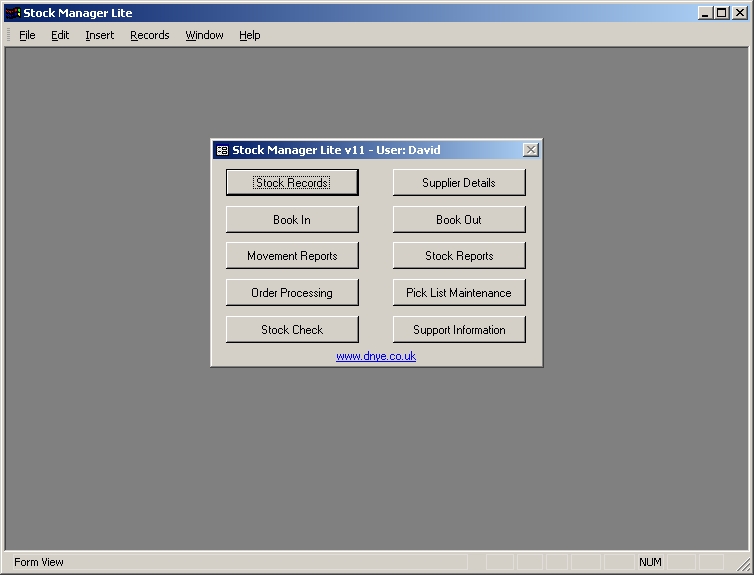
Main screen
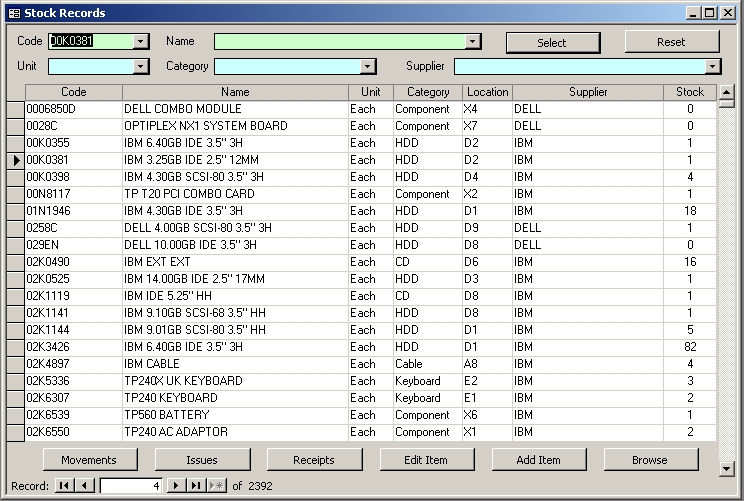
Stock Records
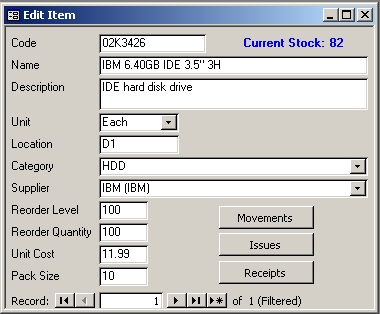
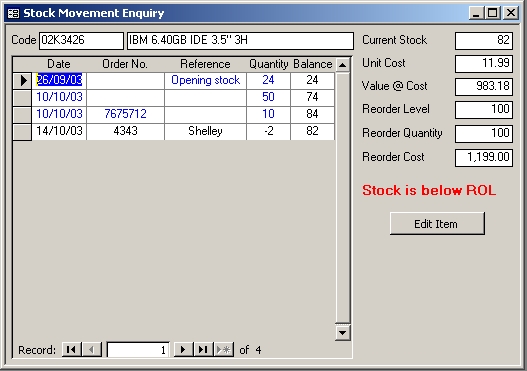
This is the main access point to your stock data. It will open with a full scrolling list of all stock items. A specific record may be instantly located by entering the code or first few letters of the name in the green combo boxes, followed by the “Enter” key or clicking the “Select” button. The record selector then highlights the item required, and double clicking this will drill down to its movements. Alternatively the “Movements”, “Issues”, “Receipts” or “Edit Item” buttons may be used to act on the selected item. The blue combo boxes are used to “filter” the list i.e. select only records matching the selection(s) to facilitate browsing.
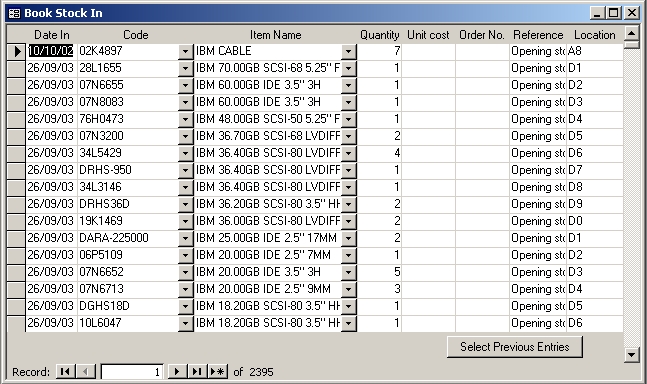
Booking In and Out
These options present empty booking in or out sheets for batch entry in list format. The item may be selected using either the code or the name combo boxes. When booking out, the current stock balance is displayed at the bottom, and it is not possible to book out more than this quantity. When booking in, any changes to the unit cost will be applied to the item details. It is possible to review or edit previous entries by selecting a single item or range of dates.
Stock Checks
Print stock take sheets from the “Stock Reports” option; select one stock category or a range of stock codes at a time, set the report “type” combo to “Count”, then click “Print”. Write the actual stock quantity counted on the sheets. Enter these using the “Stock Check” option; select the same stock category or range of stock codes, input the quantities, amend the date, order number and reference if desired, then press “Update”. Stock Manager will automatically generate in or out records to correct the stock levels.
Getting Started with Stock Manager Lite
Stock Manager is normally installed with sample data so that you can
explore the system before entering your own records. Most functions
should be self explanatory, but to get the most out of the software
please read the following tips.
Drop-down lists are provided for input wherever possible. These are
known as “combo” boxes because they can be used for keyboard input or
drop down selection (by keyboard or mouse). If there is only one item in
the list of choices beginning with a specific letter, then input of that
initial letter will immediately match the item on the list. If there are
several items beginning with the letter, then the first item will
initially be matched and it may be necessary to type two or three
letters to match the correct item. As soon as the user sees that the
correct item has been found, she can move on to the next input.
Alternatively, the drop down icon maybe clicked (or the keyboard
shortcut used) to drop down a list of choices for selection.
“VCR” controls may be used to browse a set of records. The “VCR” buttons
represent “first record”, “previous record”, “next record”, “last
record”, and “new record”. The user can also type a record number in the
central box to go to that record.
In a list, the squares to the left of the first column are called
“record selectors”, and a single mouse click will select the record on
that line. This highlights the line, and then may allow the user to edit
or delete the whole line entry, for example. Where appropriate, double
clicking the record selector will “drill down” and display further
details related to that line.
Dates are entered with a valid separator, with or without leading zeros
and with or without the two or four digit year e.g. 5th April this year
may be input as “05/04/03” (the usual display format) or “5/4” or “5 4”
or “apr-5” etc. The current date can be inserted using [Ctrl]-[;].
Use the “tab” key to move between fields. If the field contents are
highlighted then they will be replaced by new input (in which case you
can use the mouse or press “F2” key to edit the contents). The behaviour
of the “Enter” key depends on the context. Please also refer to the
keyboard shortcut reference sheet.